The Down and Dirty Broadcasting Kit for $100
Save your money for a rainy day. Put together a versatile studio for a steal with the best broadcasting kit for $100 (or less!).
As we’re rapidly approaching the festive season, you may want to start thinking about presents for your loved ones. Why not gift a radio station?
That may sound like an expensive gift idea, but online radio doesn’t need to cost an arm and a leg. Anything you can do with expensive gear, you can do just as well with something that won’t cause you major financial strife and rows with your significant other.
Seeing as you’re able to read this article, we’re going to assume you already have a laptop or computer to use as your base of operations. If it’s old or beat up, or just not that powerful, don’t worry, this setup could run smoothly on a Game Boy, so you shouldn’t have any problems.
Without further ado…
Best Broadcasting Kit for $100 (or Less!)
We’ve scoured the internet for the best equipment and deals available for you. Let's see if you really can get everything you need for a fully functioning broadcasting kit for $100.
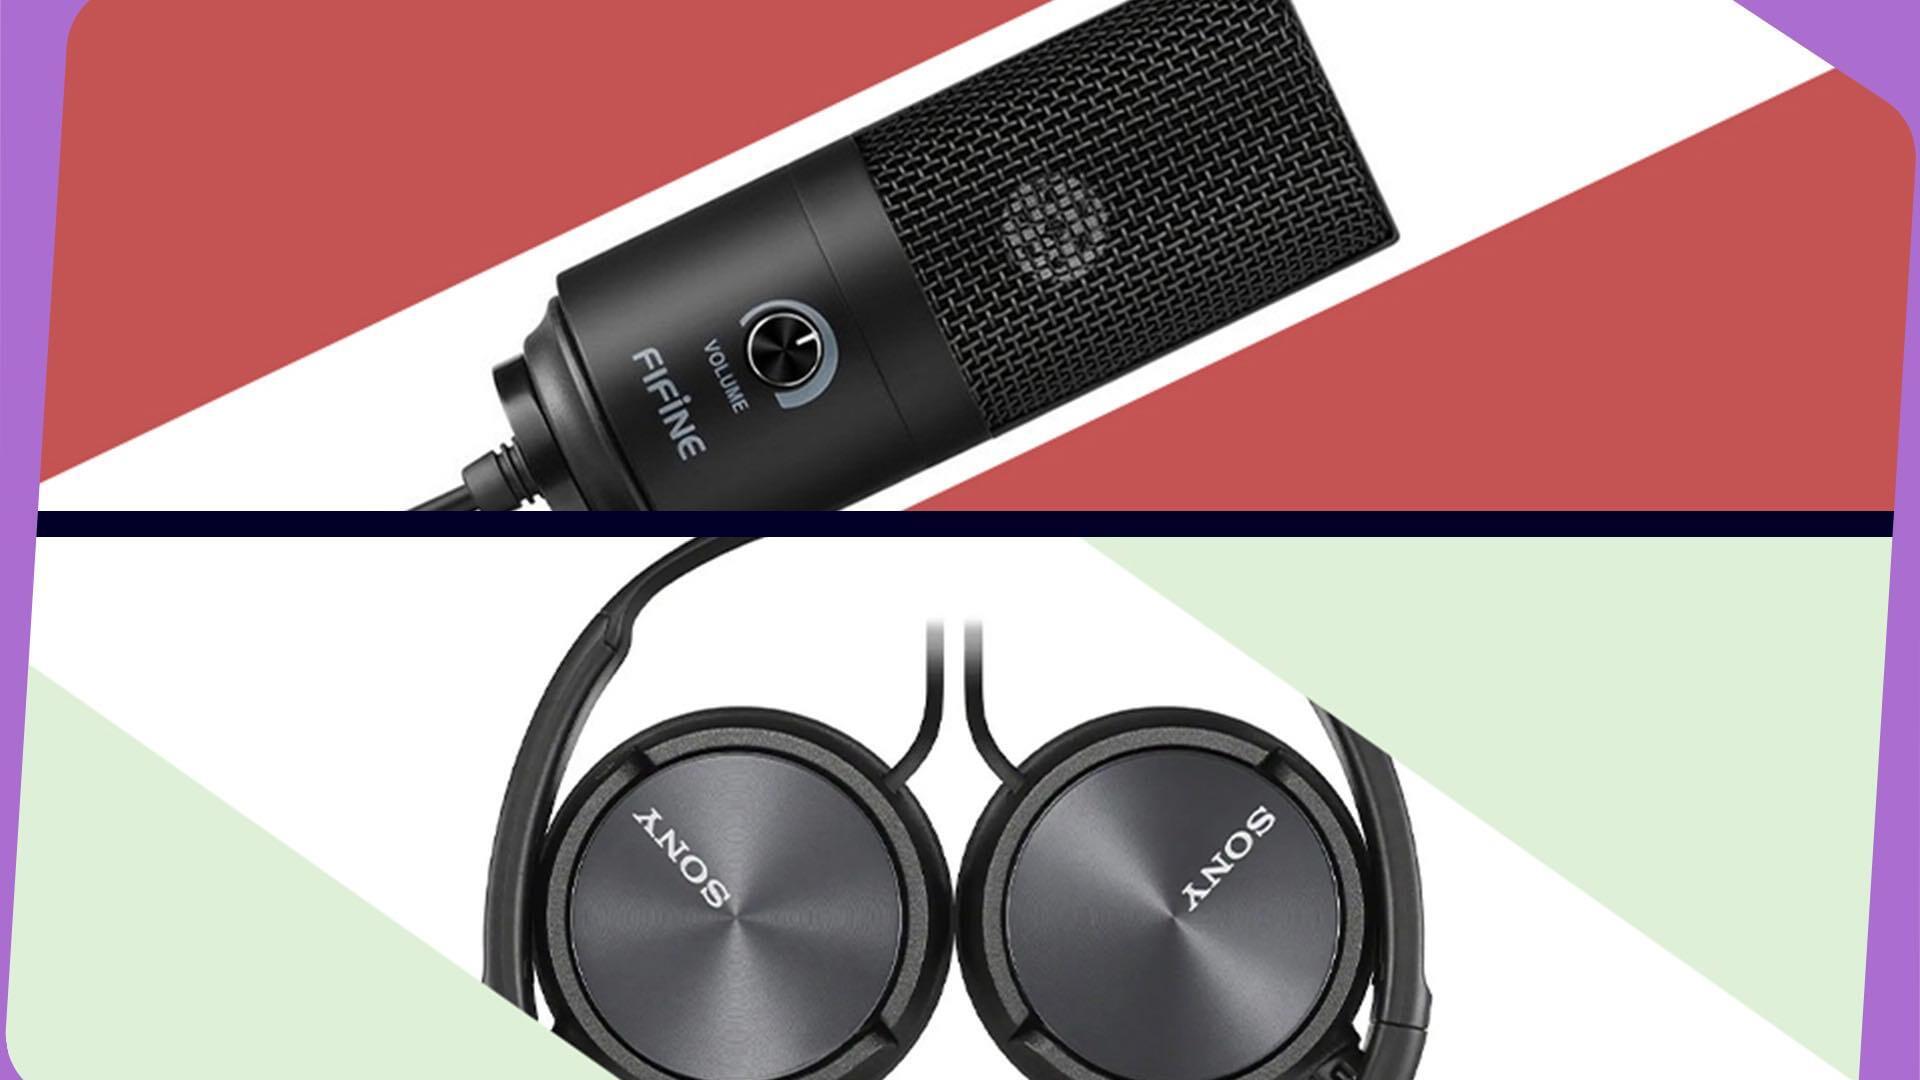
Microphone: Fifnine 669
One of the cheapest mics on the market, the Fifnine comes in at a remarkable $25. As a USB microphone, the Fifnine removes the need to get yourself an interface or mixer, which can ramp up the cost significantly. Available on Amazon US and Amazon UK.
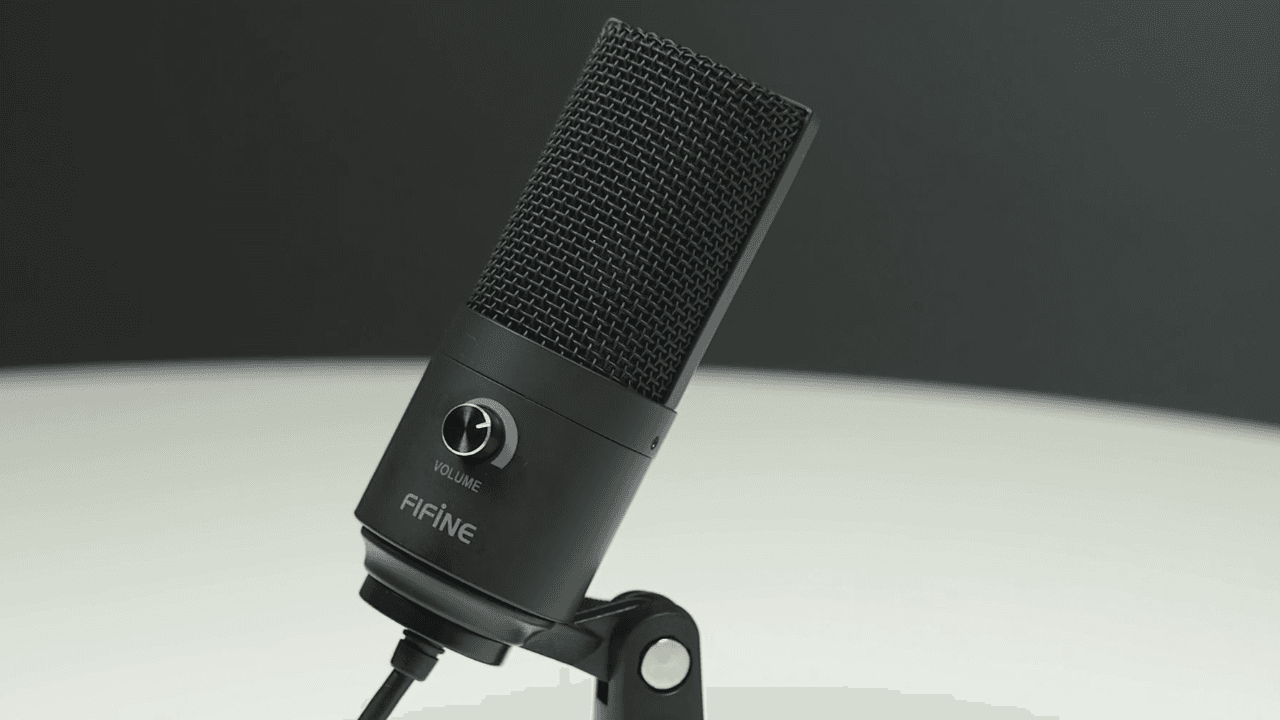
This also has the knock-on effect of making your whole setup simpler to use; USB mics, as the name suggests, can be plugged straight into your computer or laptop and used effortlessly as soon as they’re connected. It even comes with its own mic stand, so you don’t need to get one yourself to use it comfortably.
While a price tag as low as the Fifnine’s may make some apprehensive about its quality, it performs much better than you might expect. While you’re not exactly going to get premium-quality audio out of it, it produces clear and natural-sounding audio without any post-production. You will need to stick quite close to it when recording as it tends to struggle when you’re far away.
So while it may not be perfect, the Fifnine makes a rock-solid entry-level mic and a great choice for anyone looking for a broadcasting kit for $100.
Headphones: Sony MDRZX310
Coming in at a meagre $20, the Sony MDRZX310 are an ideal partner to the Fifnine. As you’ll see below, this brings our total budget up to $45, meaning the initial target of $100 has been completely demolished! Available on Amazon US and Amazon UK.
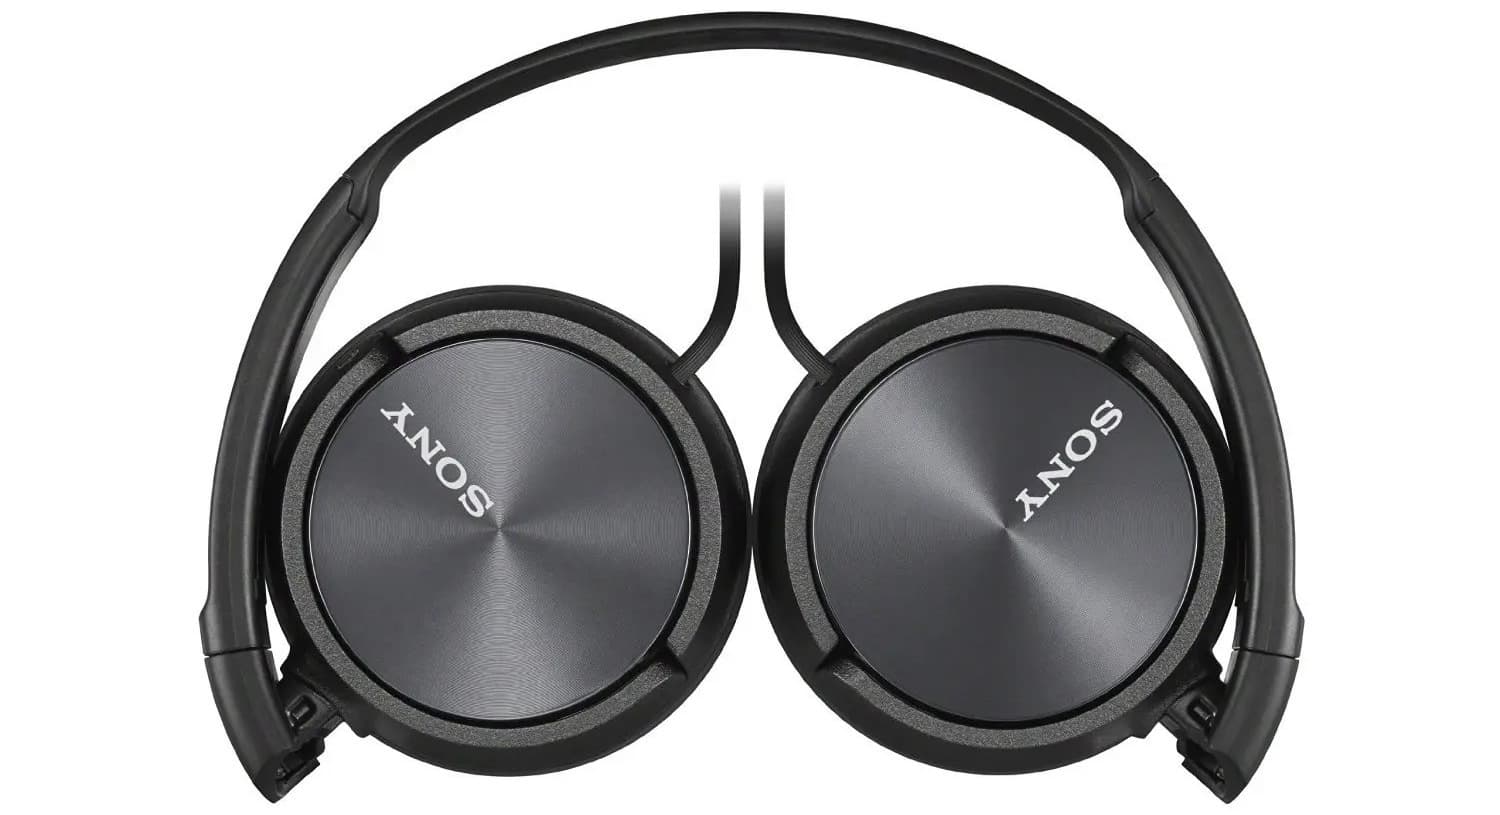
What makes the MDR'z so great is that despite their paltry cost, they'll give you great audio quality in a lightweight, foldable, and therefore highly portable package.
You don’t want an uncomfortable pair of headphones that’ll make you miserable as the hours tick by and the ache sets in. While Sony hasn't given these headphones the most durable padding possible, they won't cause pain after extended use. They also provide a moderate level of isolation from outside noises. Just be aware of the thin plastic rubbing off on your ears.
Software: Radio.co Broadcaster & BUTT
Your station won’t be heard by anyone if you can't broadcast it to the outside world, so you need the right broadcasting software. There’s plenty of software available to suit many needs, whether you’re a DJ, presenter, beginner or expert. But a lot of them tend to be quite pricey or require subscriptions.
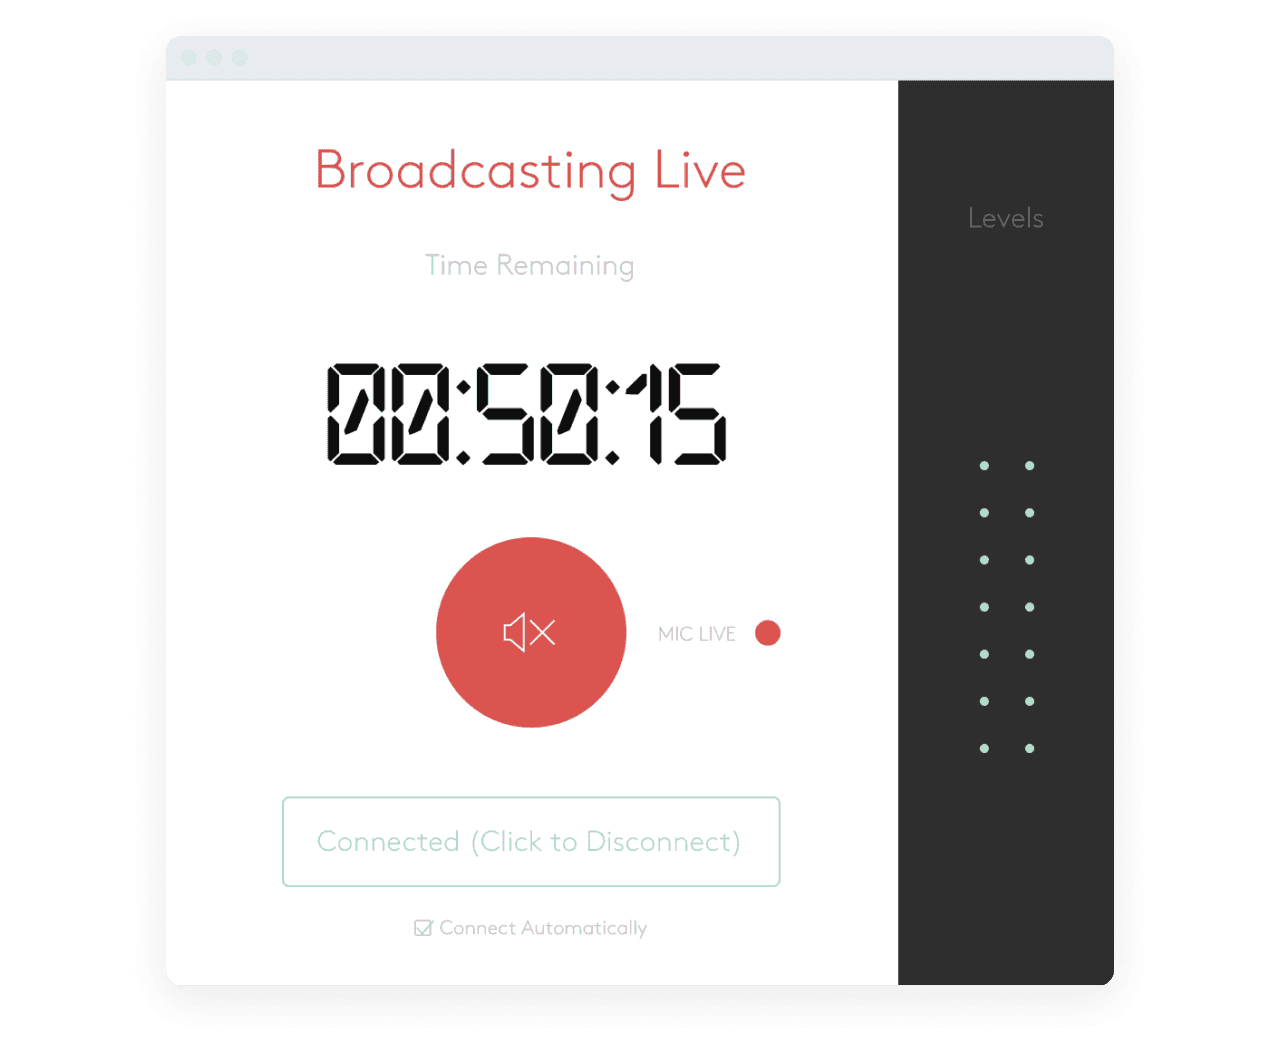
Happily, neither BUTT nor the Radio.co Broadcaster cost anything to use.
Radio.co Broadcaster is available to anyone on the Radio.co platform for free. It lets you and your DJs broadcast live from your computer or laptop, is easy to set up and you can play music through any application such as Spotify or iTunes. The only downside is that this software is only available for Windows, so if you’re on Mac you’ll be unable to use it.
Which is why we’ve included BUTT here, which is available freely on Windows and iOS. In case you’re wondering, BUTT stands for Broadcast Using This Tool, which pretty much sums up its simplicity.
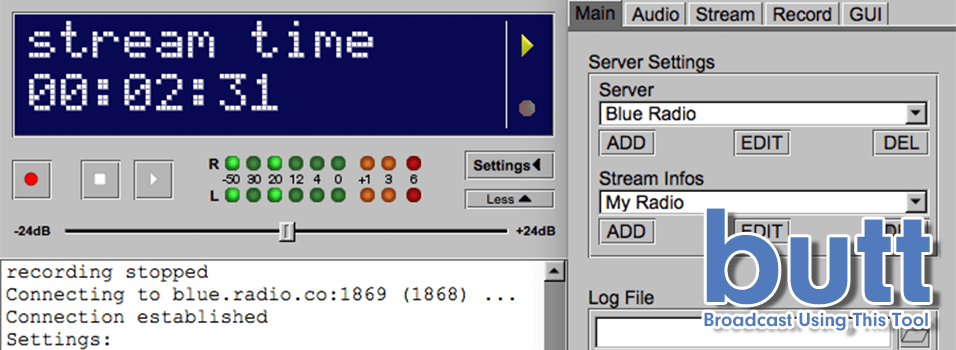
BUTT broadcasts any input source on your computer, which is great for external microphones, mixers, or even pre-built mics, however, it only handles live feeds like talking into a microphone or your computer’s sound-card, so you’re unable to play music through Spotify or iTunes like you can with the Radio.co Broadcaster.
Bonus: Noise Reduction Techniques
One of the most important methods of improving your sound is to implement some noise reduction techniques in your studio.
These don’t have to be expensive, so while you have the option to use foam tiles if you have the budget left over for them, you can also use simple household objects such as pillows, cushions or mattresses to absorb sounds. This may sound simplistic, but dampening echoes and reverb in your recording space will make more of a difference to the quality of your sound than investing thousands into fancy gear you don’t need.

You can have a massive impact on your audio quality just by putting some thought into where in your home you’ll be recording. Here are some quick tips on what to avoid when deciding where to record in your home:
- Parallel Walls: Reflect soundwaves off one another, causing echo and exaggerating certain frequencies. Hallways and narrow spaces are common sound traps for this.
- Large Rooms: Reverberations are noises bouncing around which are commonly found in big spaces. Theatres use reverb to reach audiences, but it doesn’t sound good to mics.
- Corners: Soundwaves get trapped in corners of rooms and bounce around, causing echoes and harsher frequencies to get captured by your microphone.
- Hard Surfaces: Most recording spaces have wooden floors, tables, chairs, and so on. Just like a ping-pong table, your audio gets bounced around, resulting in poor acoustics.
If you’re unable to avoid any of these common traps, you can place pillows, cushions and other pieces of soft, thick furniture around problem areas like parallel walls and the corners of rooms to mitigate the echoes and harsh frequencies they exaggerate.
‘Tis the Season to be Broadcasting
Starting a radio station may seem daunting, but as you can see, it doesn’t have to be reserved for those with mountains of cash. You have all the tools and knowledge you need to get started with the best broadcasting kit for $100.
Once you have your ideal setup, where next? Why not try a free 7-day trial of our systems today so you can kick off your dream station.

